How to Continue Backup on Another Computer
In some cases, you may need to continue your backup and restore works on a different computer than you used. MSP360 Backup provides such an opportunity. To continue backing up on another computer, follow the instructions below.
1. Download and install another copy of MSP360 Backup on a new computer. You can use a 15-day free trial.
2. Register exactly the same cloud storage account that you’ve been using previously.
3. Select the same bucket, vault or container.

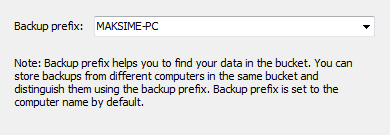
4. Click on the “Advanced settings” link to specify the same prefix that you’ve been using previously.
5. Wait until repository sync process is complete (Sync process starts automatically.
NOTE: for Amazon Glacier account you will need to run repository sync manually by going to Tools | Options | Repository: click “Synchronize Repository”. It will take about 4-5 hours.
6. Go to the “Backup Storage” tab and check if your backup data from the old computer has appeared.

7. Create a backup plan and select the same file structure that has been initially set up to continue the backup.
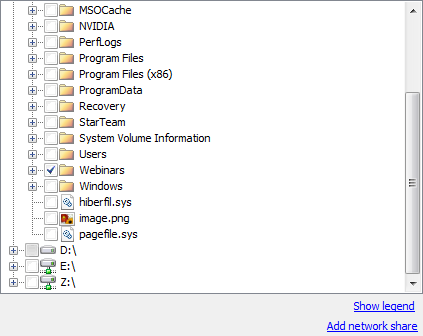
In most cases taking steps listed above will allow you to continue backup on another computer as if it is your old computer. If data on your new computer is kept on a drive with a different letter, you will need to take a few more actions.
What to Do If the Drive Letter Is Changed
In case if you plan to continue backup of data kept on a computer with drive letter different to what it used to be on the previous computer, you should rename the existing cloud folder to match it to local changes. Please follow the steps below:
1. Download MSP360 Explorer PRO. It comes with a 15-day fully-functional trial.
2. With MSP360 Explorer register your cloud storage account.
3. Go to the bucket, container or vault that is used for backup.
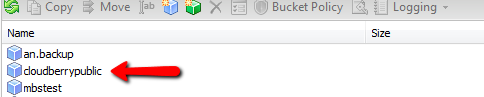
NOTE: Go to Tools | Options and make sure the following options are enabled/selected: Use Amazon Multipart Upload, Chunk Transparency.
4. Go to "CBB_[BackupPrefix]" folder where the [BackupPrefix] is defined on the backup console, “Account properties”, “Advanced settings”. In our example, it is [MAKSIME-PC].

5. Explore that folder and find a drive folder.

6Right-click on the "drive" folder to open the context menu and click “Rename”.
7Rename the folder to the new drive letter.
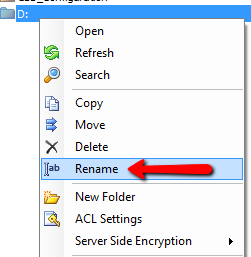
NOTE: Don't forget to add a colon at the end (e.g. D:).
8. Go to the backup console and open Tools | Options.
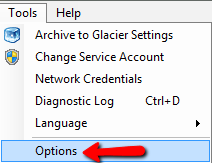
9. Go to the “Repository” tab and click "Synchronize Repository".
NOTE: When the sync is completed, you will be able to see your data on the Backup Storage tab.
10Edit your backup plan using the Backup Wizard to back up files from the new drive.
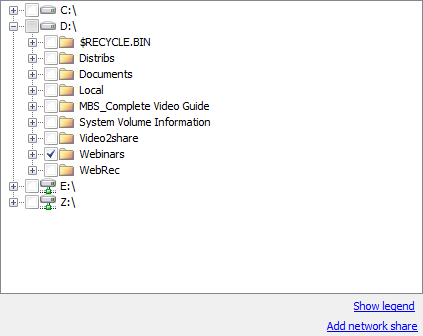
Now if you’ve done everything correctly you shall be able to continue backup on another computer as if it is your old computer.
Glacier storage