We are excited to announce that we have released a new MSP360 Backup for Mac OS! This is our first standalone version of MSP360 Backup designed specifically for this platform. Now Mac OS users can leverage the capabilities of our product and effectively manage their backups.
Table of Contents
In this post, we provide instructions on how to backup and restore your data using MSP360 Backup for Mac OS.
How to Set up Storage Account
Launch MSP360 Backup, navigate on Settings > Storage accounts and specify Amazon S3 account information: "Display Name" (it can be any name you want) and "Access/Secret Key". Then type in a name of your Amazon S3 storage bucket in the "Bucket" field.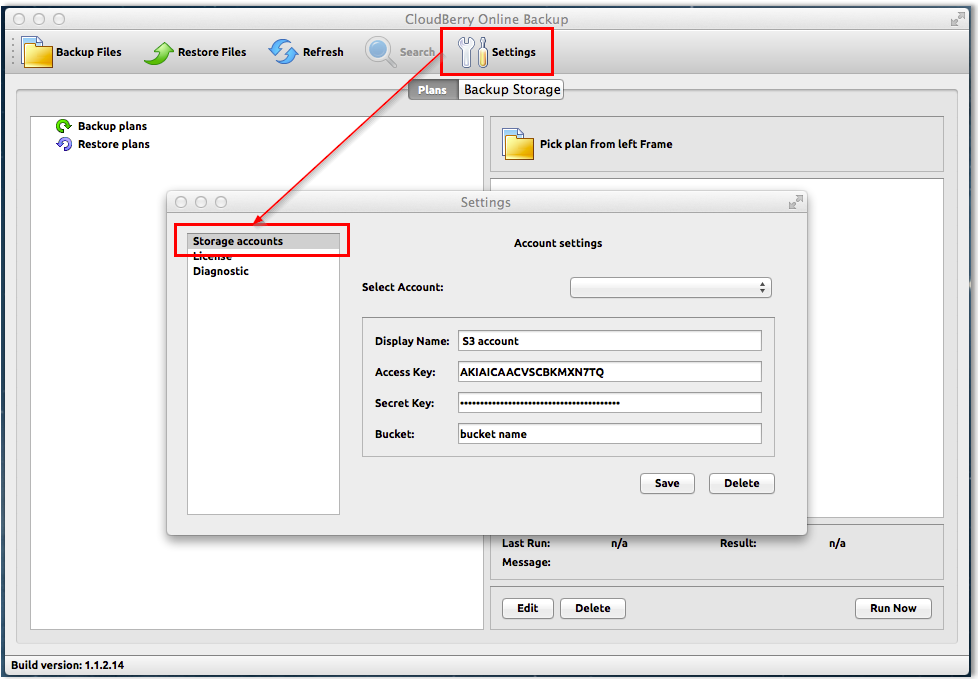
To retrieve Access Keys (Access Key ID and Secret Access Key) for your Amazon S3 account, please review the following blog: How to find your Amazon Access Key ID and Secret Access Key
How to Create a Backup Plan
Launch MSP360 Backup and click Backup Files button.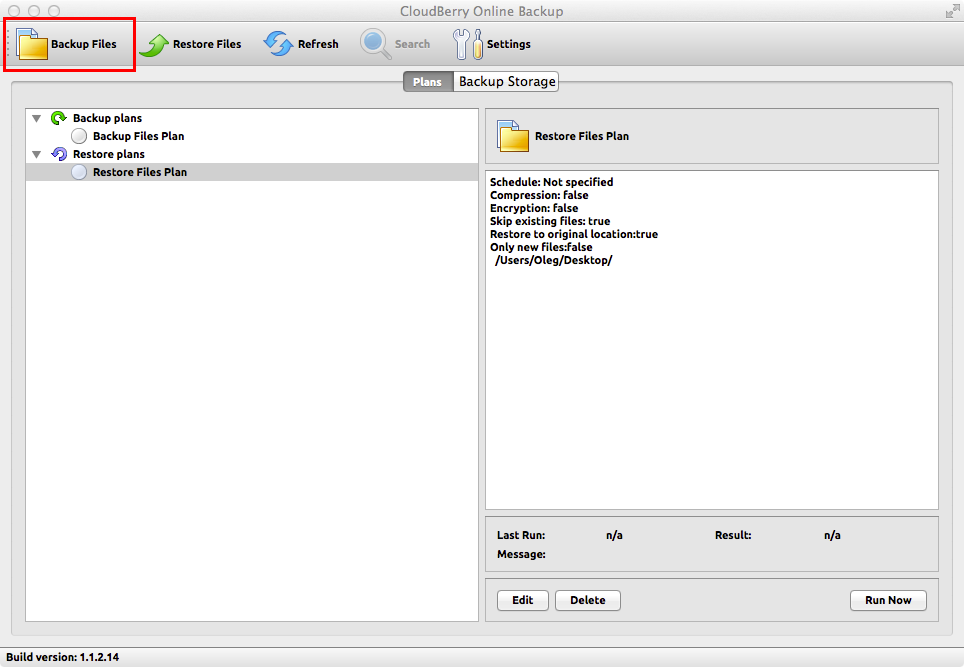
Give your backup plan a name and select Amazon S3 cloud storage.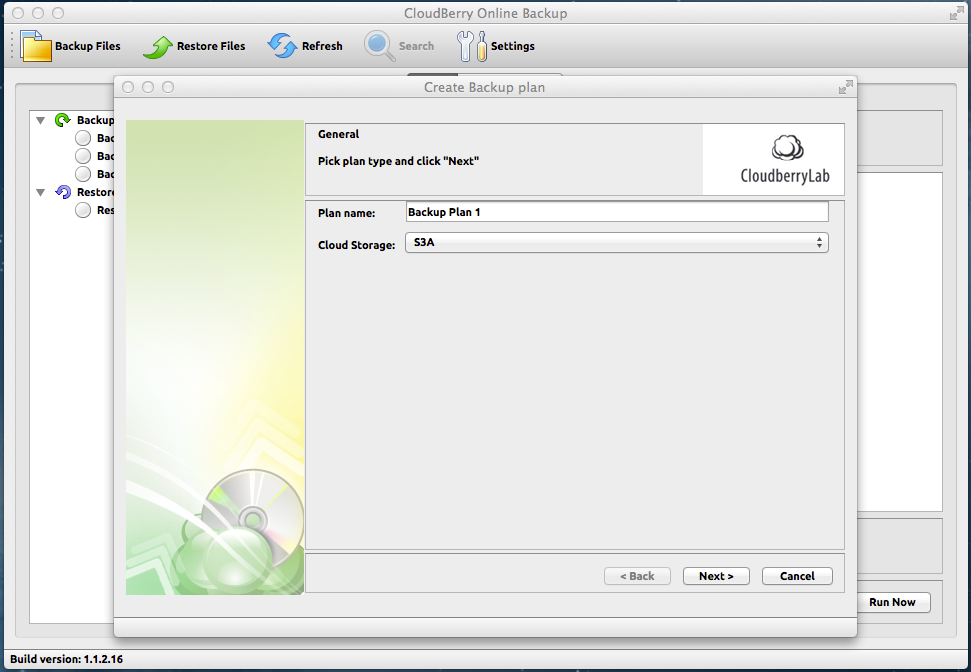
Choose what files and folders you would like to back up. Then click Next.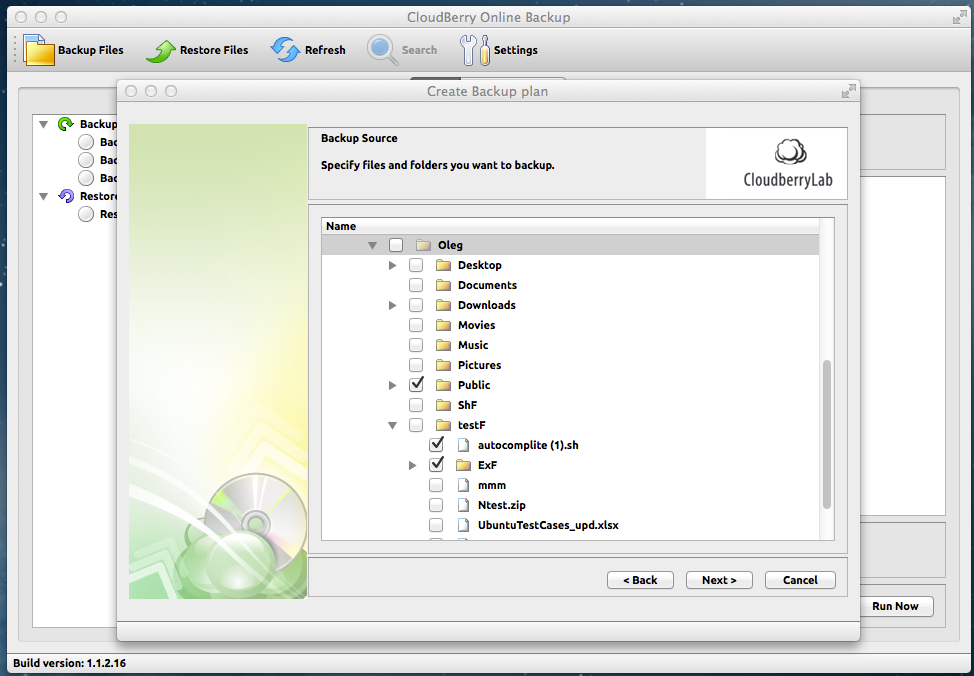
Specify compression and encryption options.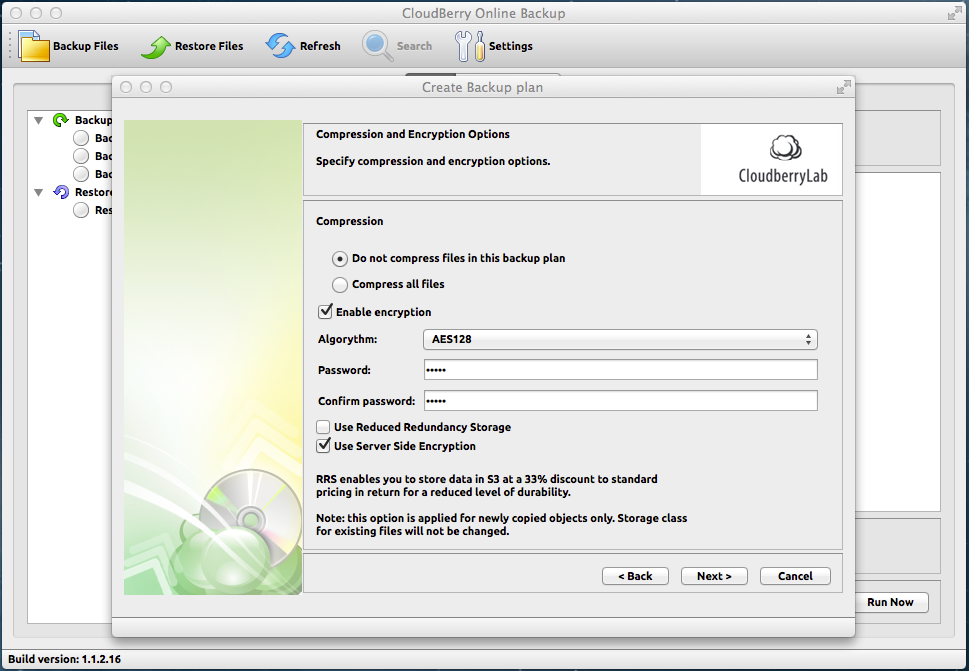 Note: The encryption password is not recoverable. If you forget or lose your encryption password you will not be able to restore it and decrypt your files.
Specify the backup schedule options to automate your backup process.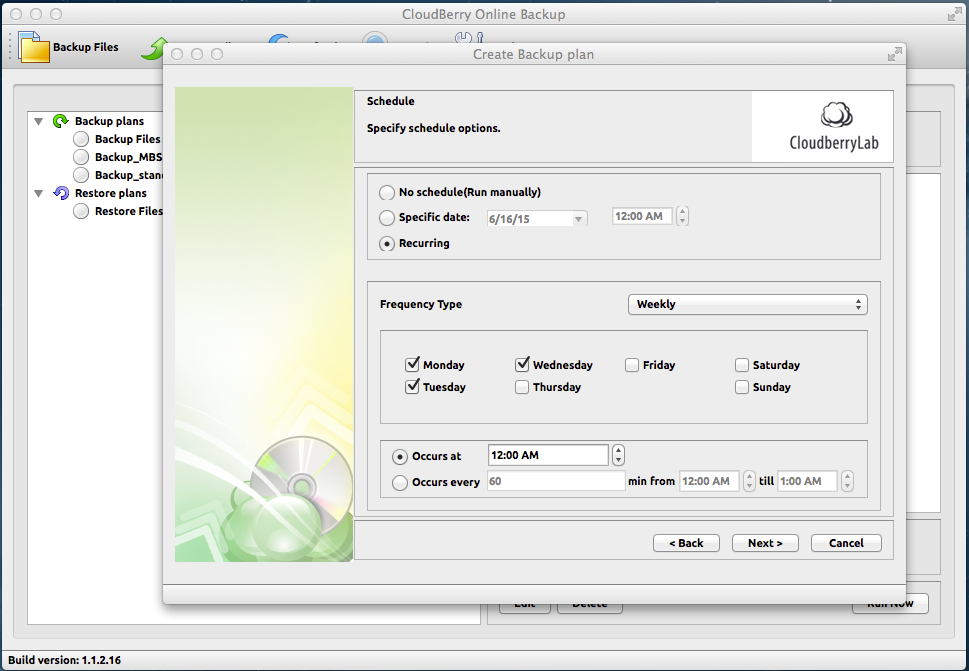
That's it! Now your backup plan is complete. You can whether go ahead and start it right away by selecting the Run backup checkbox selected, or to postpone the backup by keeping this checkbox unchecked.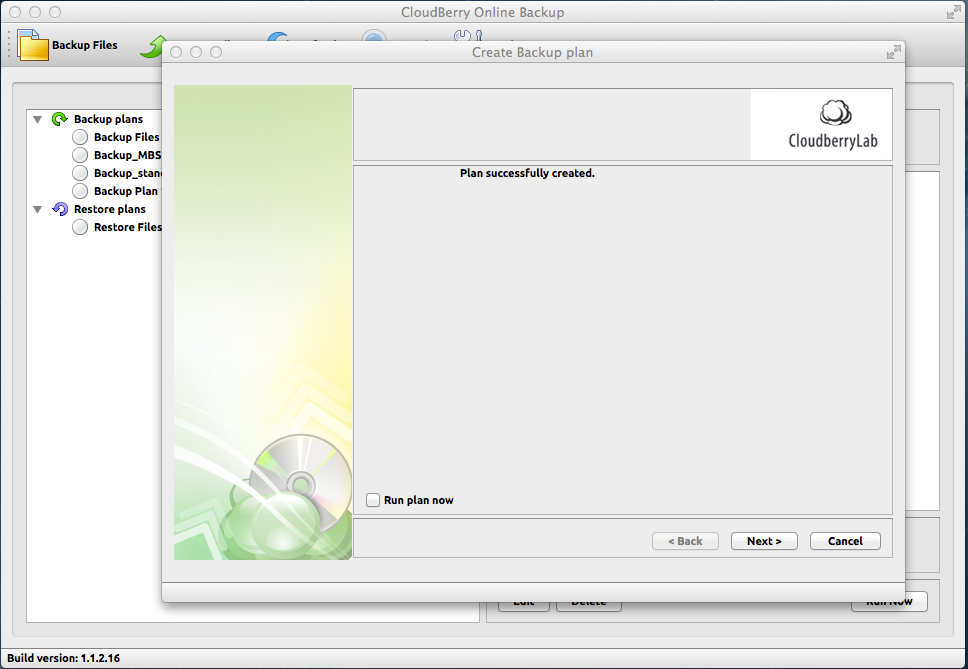
You can review your backed up data by navigating on the Backup Storage tab. You will see all the files currently being stored in the cloud. To restore these files, just create a restore plan, as described in the next part of this blog.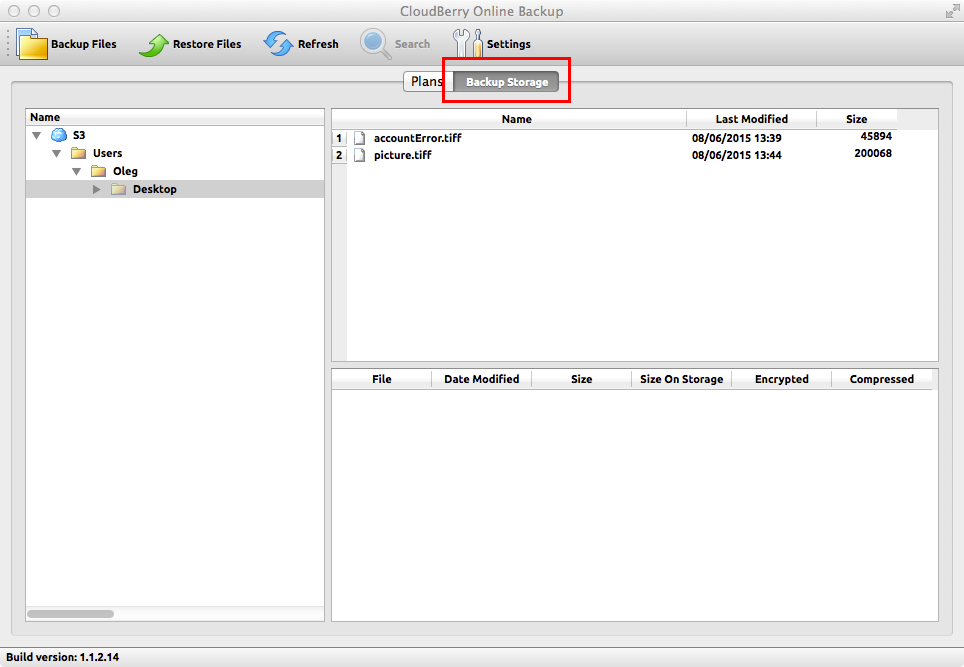
How to Create a Restore Plan
Launch MSP360 Backup, click Restore Files button.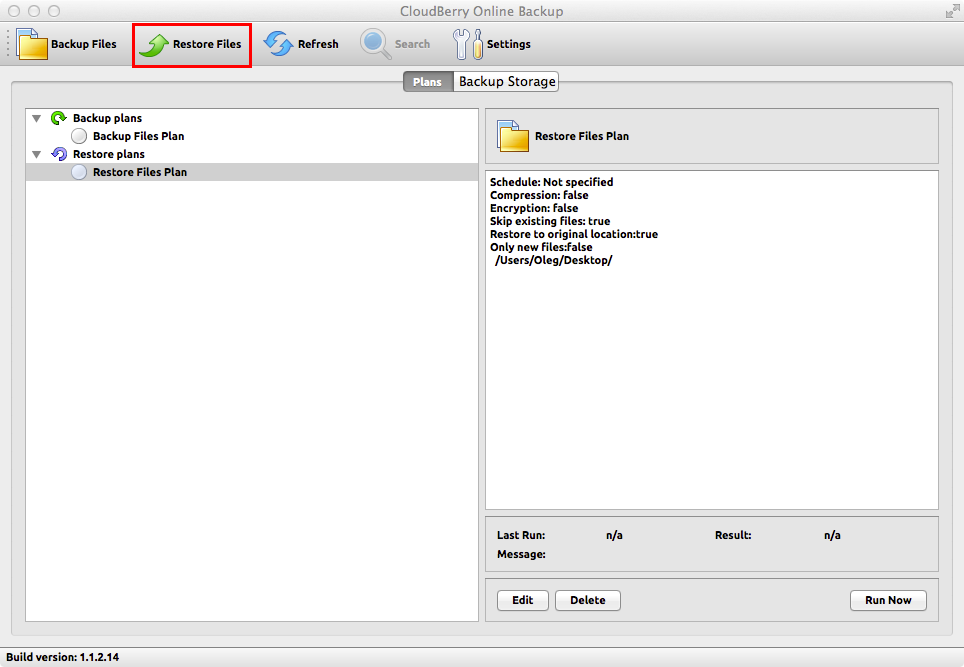
Specify the name of your restore plan and cloud storage account. Then hit Next.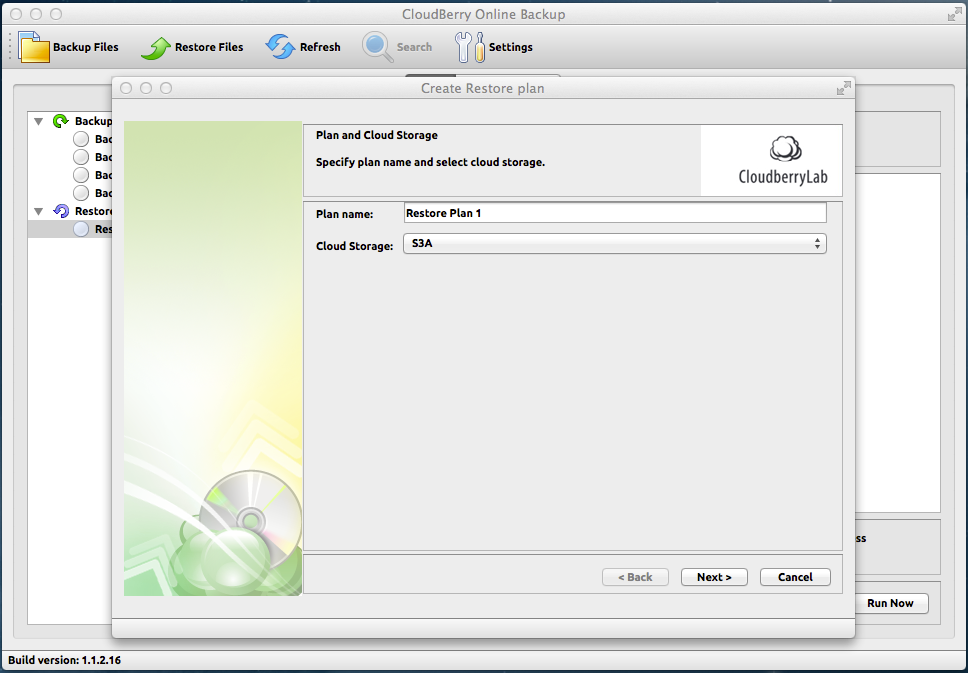
Select the restore type: whether to restore the latest version of selected files or to restore these files to a particular point in time.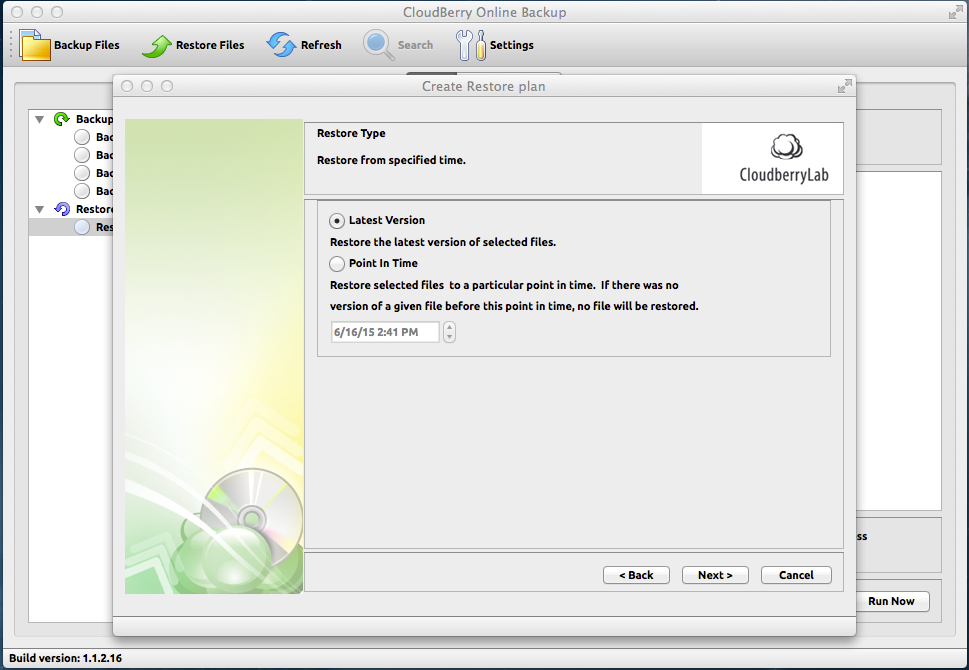
Choose the files to be restored.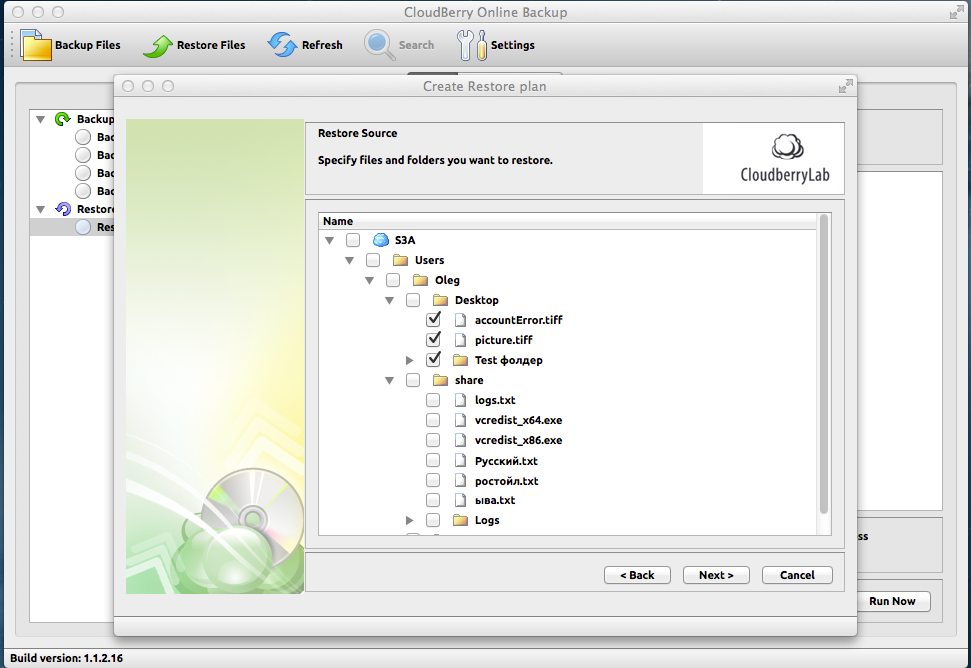
Specify the local folder you want to restore the selected files to.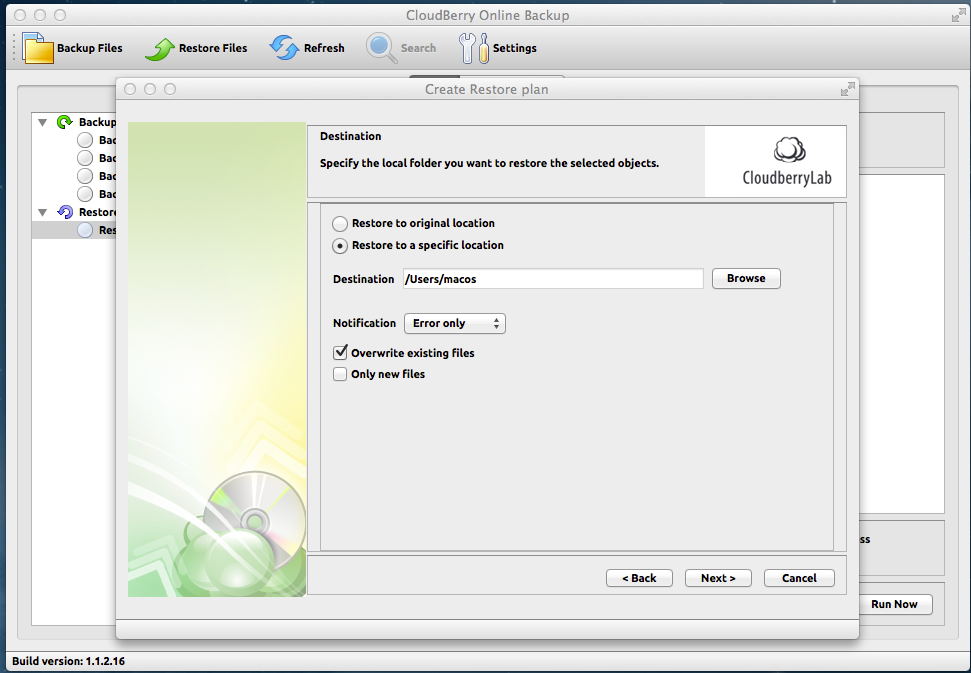
If you applied encryption when doing this backup, specify the encryption password in order to decrypt your data.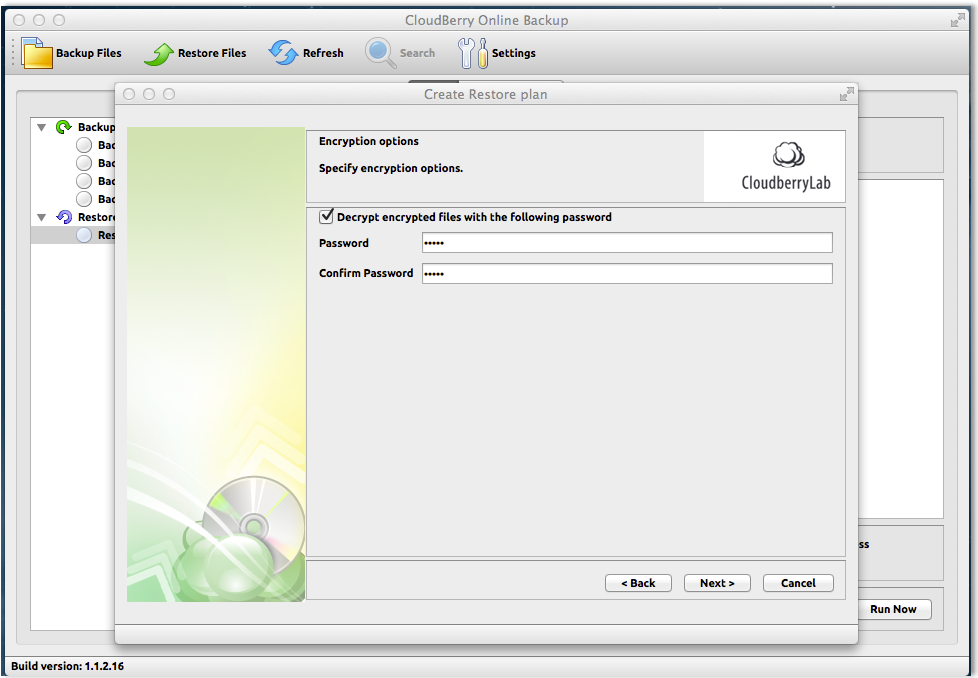
Specify the restore schedule options to automate your restore process.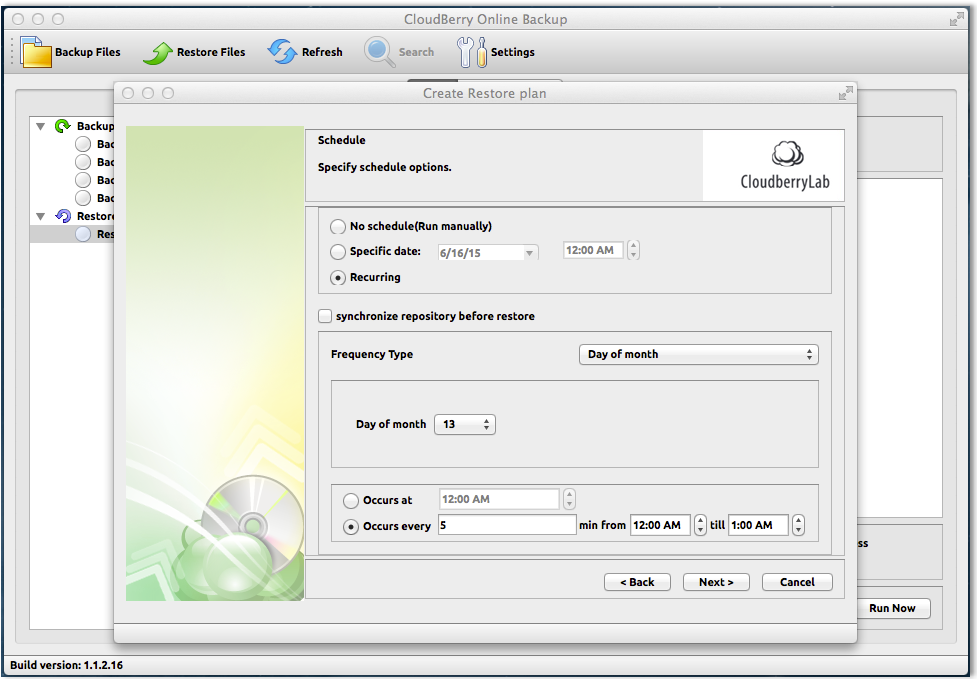
Now your restore plan is created! You can go ahead and start it by selecting the Run plan now button and hitting Next.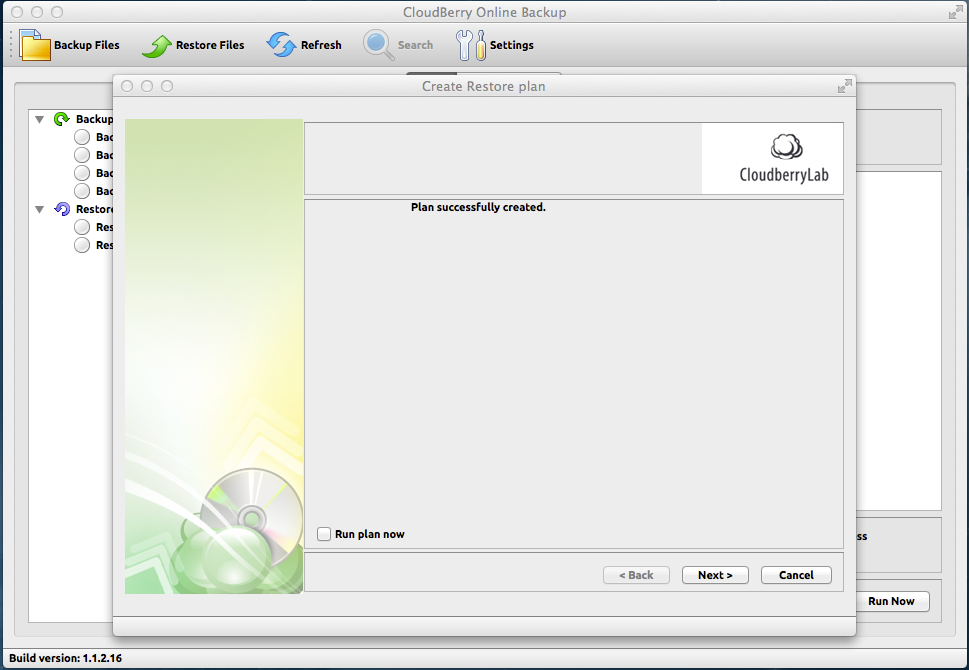
Conclusion
MSP360 Backup for Mac OS allows to set up scheduled backup and restore plans and effectively manage the backup process. We hope that our new MSP360 Backup for Mac OS will be highly appreciated by our customers.


