MSP360 Backup software comes with a feature allowing to resize NTFS (New Technology File System) partitions while restoring the machine from image-based backup. With this feature, you can maintain the desired volume size regardless of how much space your backup takes. In this blog post, we provide a detailed step-by-step guide on how to resize the partition.
When You Need To Resize Partition
In some cases, you need to recover your system image to new hardware that usually comes with new hard drives. As the capacity of these drives may differ from your backup volume size, you need to resize the partition to fit new hardware.
Earlier you would need to do it manually, but now you can change the size of the partition with MSP360 Backup while restoring your data from image-based backup.
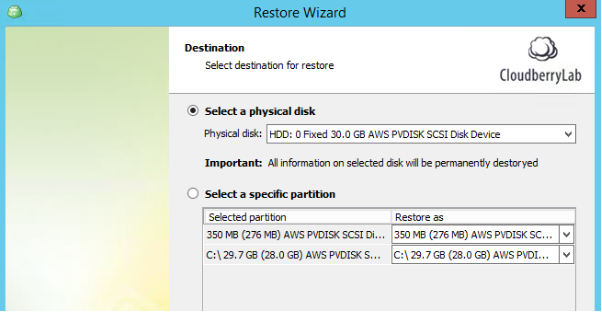
Resize Partition While Restoring as a Physical Disk
Here is a quick guide on resizing the volume during the restoration process:
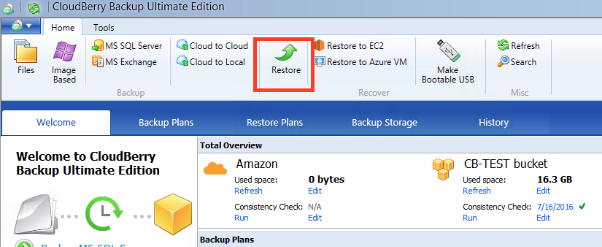
Choose the Restore option on the top panel of MSP360 Backup and click Next.
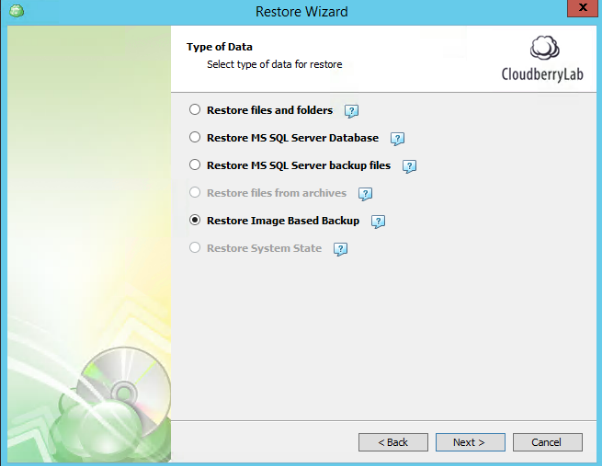
Choose the desired repository and proceed to the Type of Data screen. This feature is available only for image data, so choose Restore Image-Based Backup.
Select the type of data and the backup target: you can choose to use a cloud VM service or a physical server. If you select other options here, you will need to specify additional cloud account info.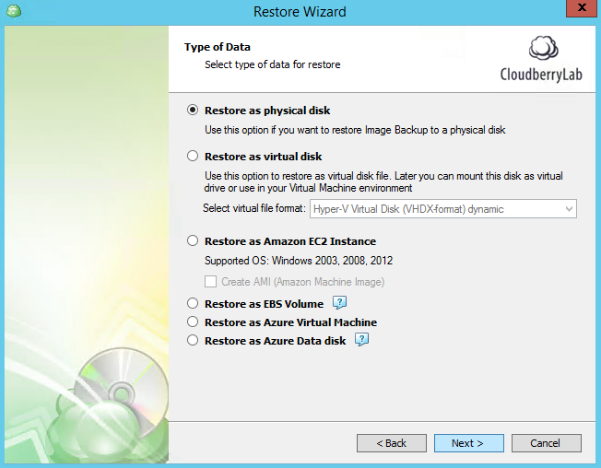
Click the Target Size content and specify any partition size you need. But keep in mind that this size shall to be larger than the size of restored data and smaller than the available drive capacity.
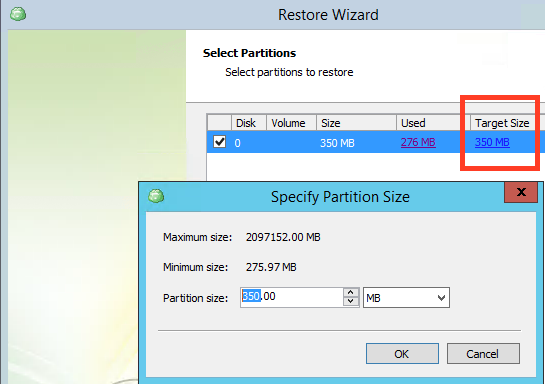
On the next steps select the partition for the new data and additional settings you want (encryption, notification, etc.). When everything is done, start the Restore Plan.
Resize Partition While Restoring as a Virtual Disk
Start the same Restore Wizard as described above and proceed to Type of Data step.
Select Restore as a virtual disk option and choose file format depending on your virtual platform.
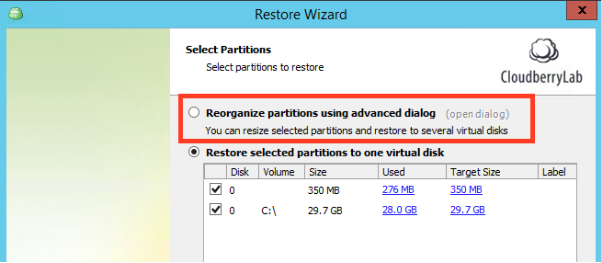
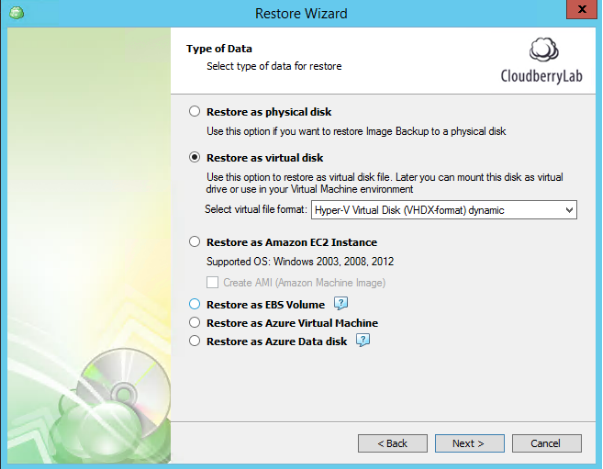 On the next step, you can use the Target Size column or use a new feature called Advanced Reorganizer by checking the first radio button.
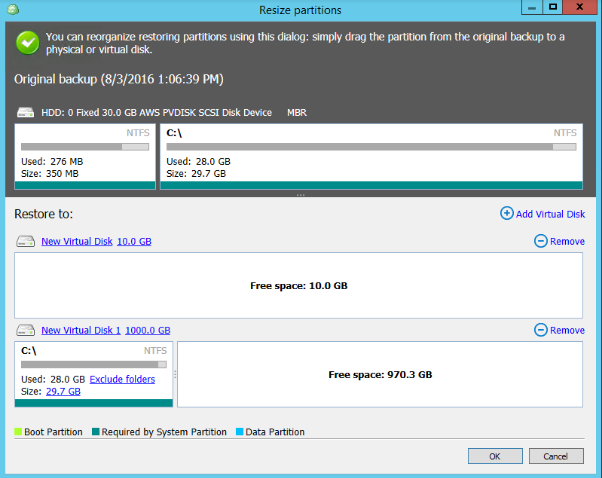
 Here comes the Resize partition screen. Now you can create a new partitions structure for the restoring drive – check the screenshot below:
 Select the destination volume, file or virtual machine (depending on your choice). Then set additional options: compression, scheduling, notifications, etc.
 If you had your backups encrypted, don’t forget to enter the decryption password. After these steps, you can start the recovery process.
Check the volume resizing feature in MSP360 Backup software during a free 15-day trial period.

