MSP360 Products
Getting Started with MSP360 Connect
This guide will show you how to set up and use MSP360 Connect – a simple and reliable solution that allows you to securely connect to and control remote desktops and servers in order to resolve issues faster. Follow these steps to complete your first connection!
Read this article to learn how to get started with MSP360 Standalone and Free Connect.
Step 1: Installation
If you have not used other MSP360 managed products before, and this is your first login to the console after registration, then the first thing you will see in the console after registration is an offer to add a computer or go through the Getting Started wizard.
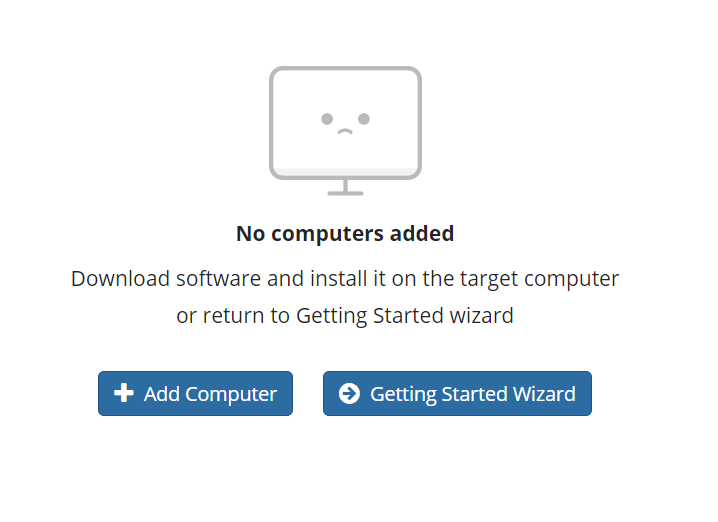
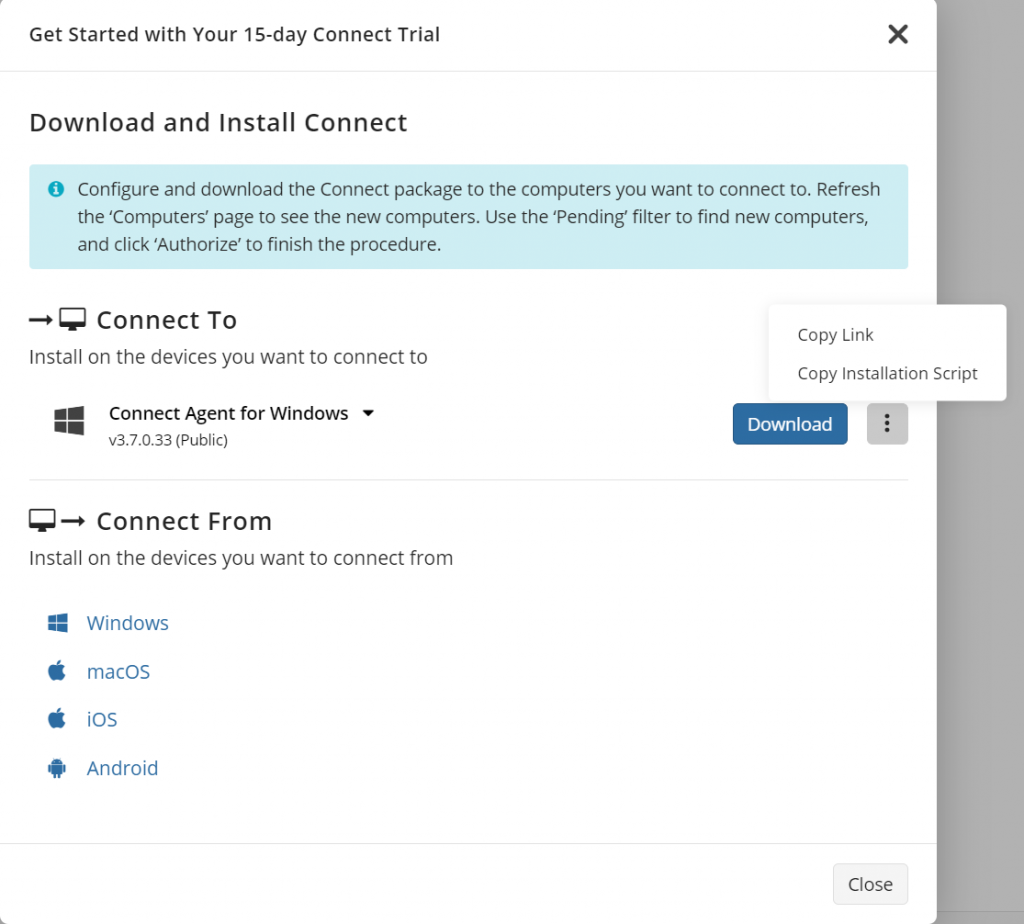
Click on the Getting Started Wizard button. In the window that opens, we see two options:
- Connect to - to install the agent on your clients’ computers
- Connect from - to install the agent on your computer to control others (this option is not required for web-based remote connections)
You can connect to Windows devices from devices running:
- Windows
- macOS
- iOS
- Android
To install the application on your computer (from which you’re going to connect to other devices), click the option for your system in the Connect from section. The download will start automatically. When the download is complete, find the file in your Downloads folder and double-click it. The wizard will guide you through the process of installation.
Note that you need to install the app on the main machine only for desktop-based connections; you can skip this step if you're only going to connect to other devices through a web browser.
Further reading Introducing Web-Based Remote Access with MSP360 Connect
To install MSP360 Connect on the computers you want to connect to, click on the three dots in the Connect to section. Two options will appear:
- Copy link - by sharing this link you can install Connect on all the computers you want to connect to.
- Copy installation script - this option is used mostly for bulk installation – for instance, with an RMM solution.
Further reading Don’t Think You Need an RMM Solution? Here’s Why You Do
In this guide, we’ll use the first option.
Share the installation link with your customers. They need to copy and paste it into the address line of their browser and press Enter. The download will start automatically.
After your customers have installed Connect on their devices, proceed to the Computers tab and refresh the page if needed. You’ll see your customers’ endpoints in the list.

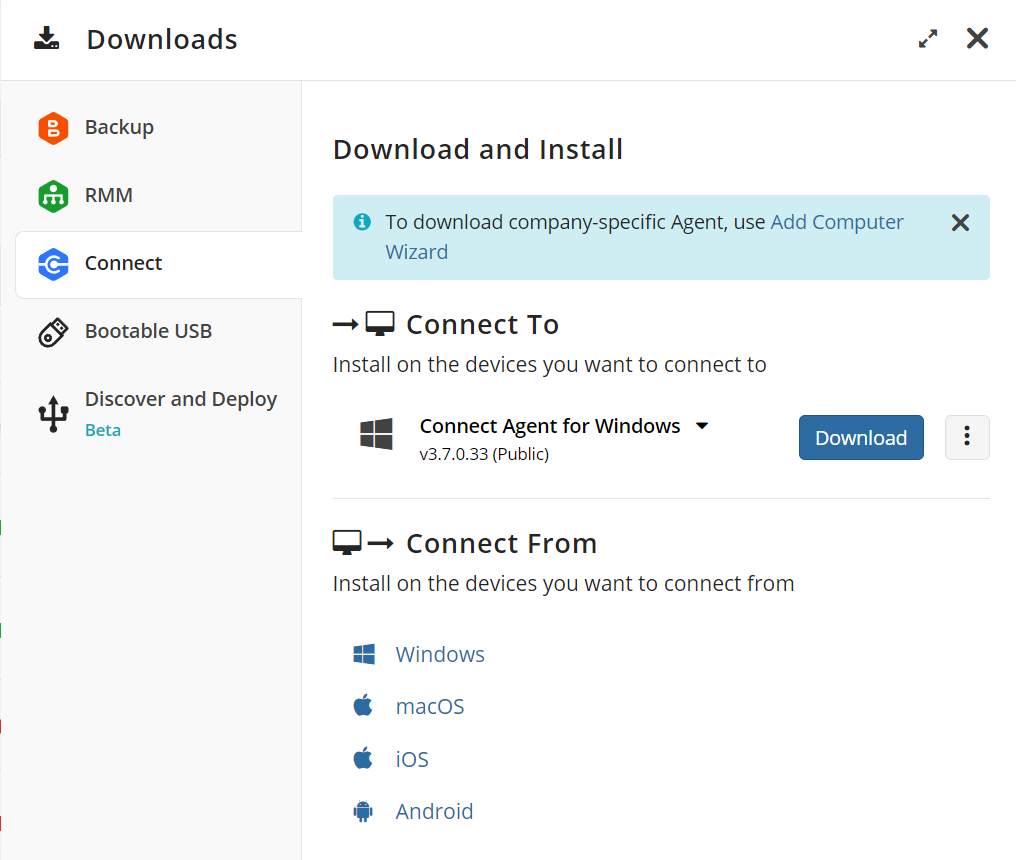
Also, you can always install Connect on your devices by clicking on the Downloads tab in the top menu.
Step 2: Assign a Company and a User
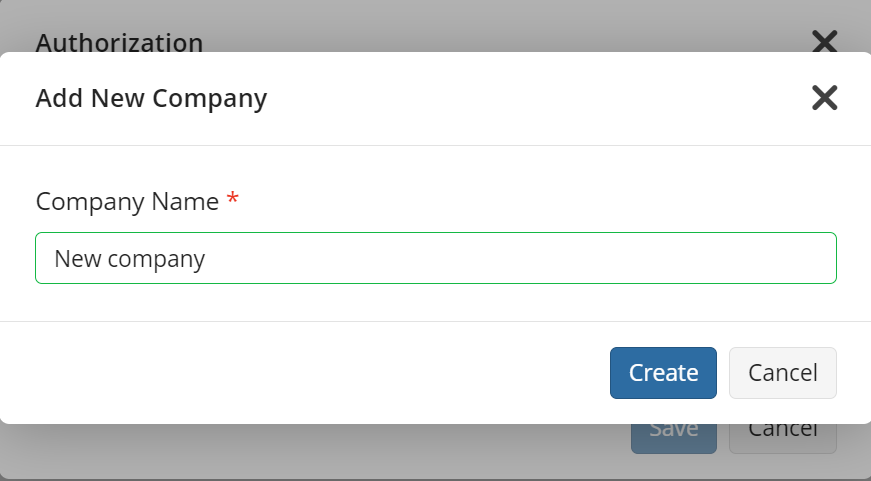
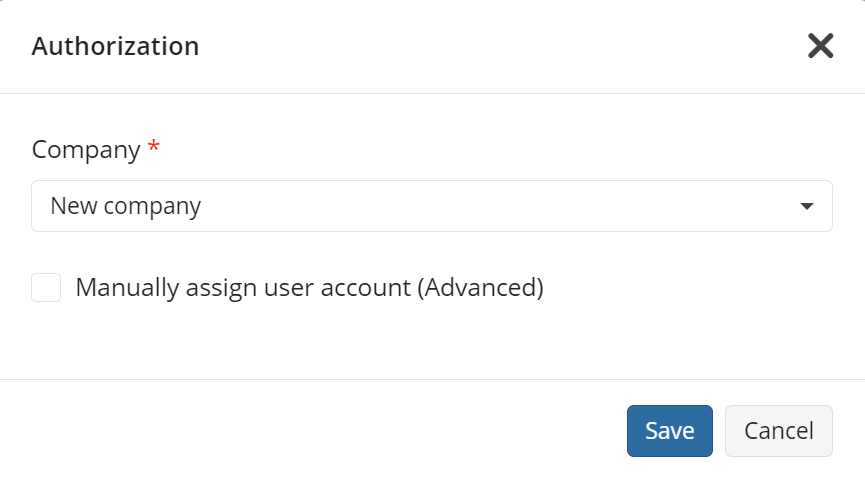
Once you’ve installed MSP360 Connect on your devices, you must assign them a company and a user. To do this, click the Authorize button in the Company & User Account column. A window will open in which you need to select an existing company or create a new one.

You can also manually add a user account:
Step 3: Configure Centralized Settings
Centralized configuration is only supported for Connect version 3.4 and later and can be applied on the following levels:
- Global level. The global agent settings (the Connect tab) will apply to all devices where company-level/computer-level settings are not set.
- Company level. Company-level settings take precedence over global ones.
- Computer level. These settings take precedence over both global and company-level configurations.
Let’s Start With Computer-Level Options:
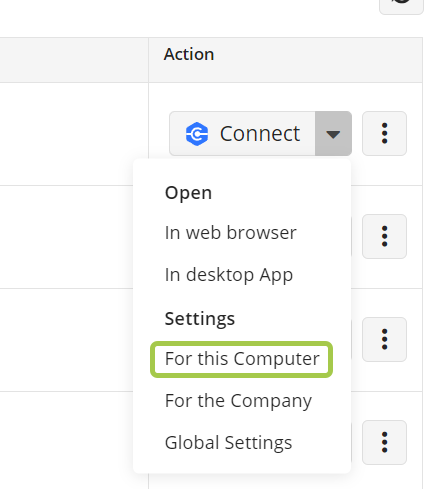
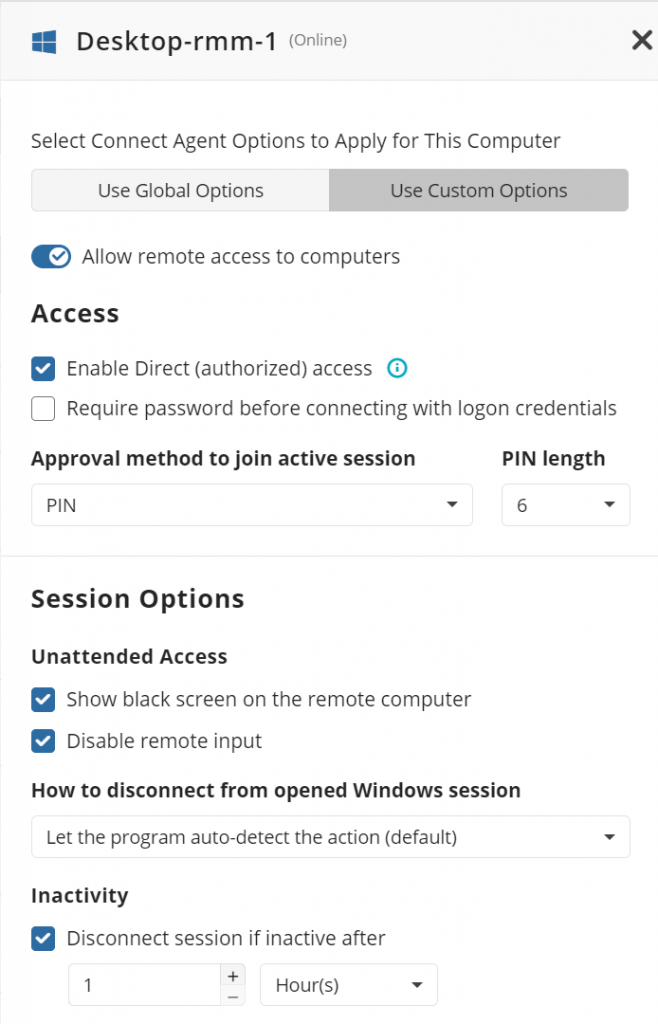
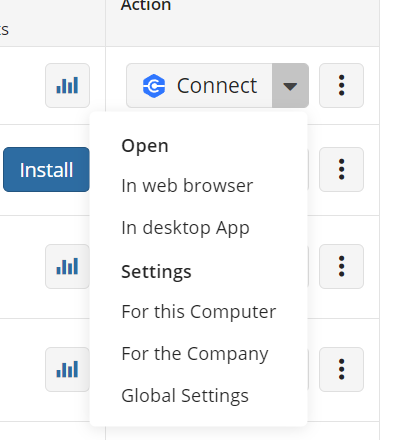
On the Computers page, find the Connect icon next to the desired device and click the arrow to open a drop-down menu. From the menu, select Settings and then For this computer. A new menu will appear where you can customize options specifically for this device by clicking Use Custom Options. These settings take precedence over both global and company-level configurations.
Company-Level Options:
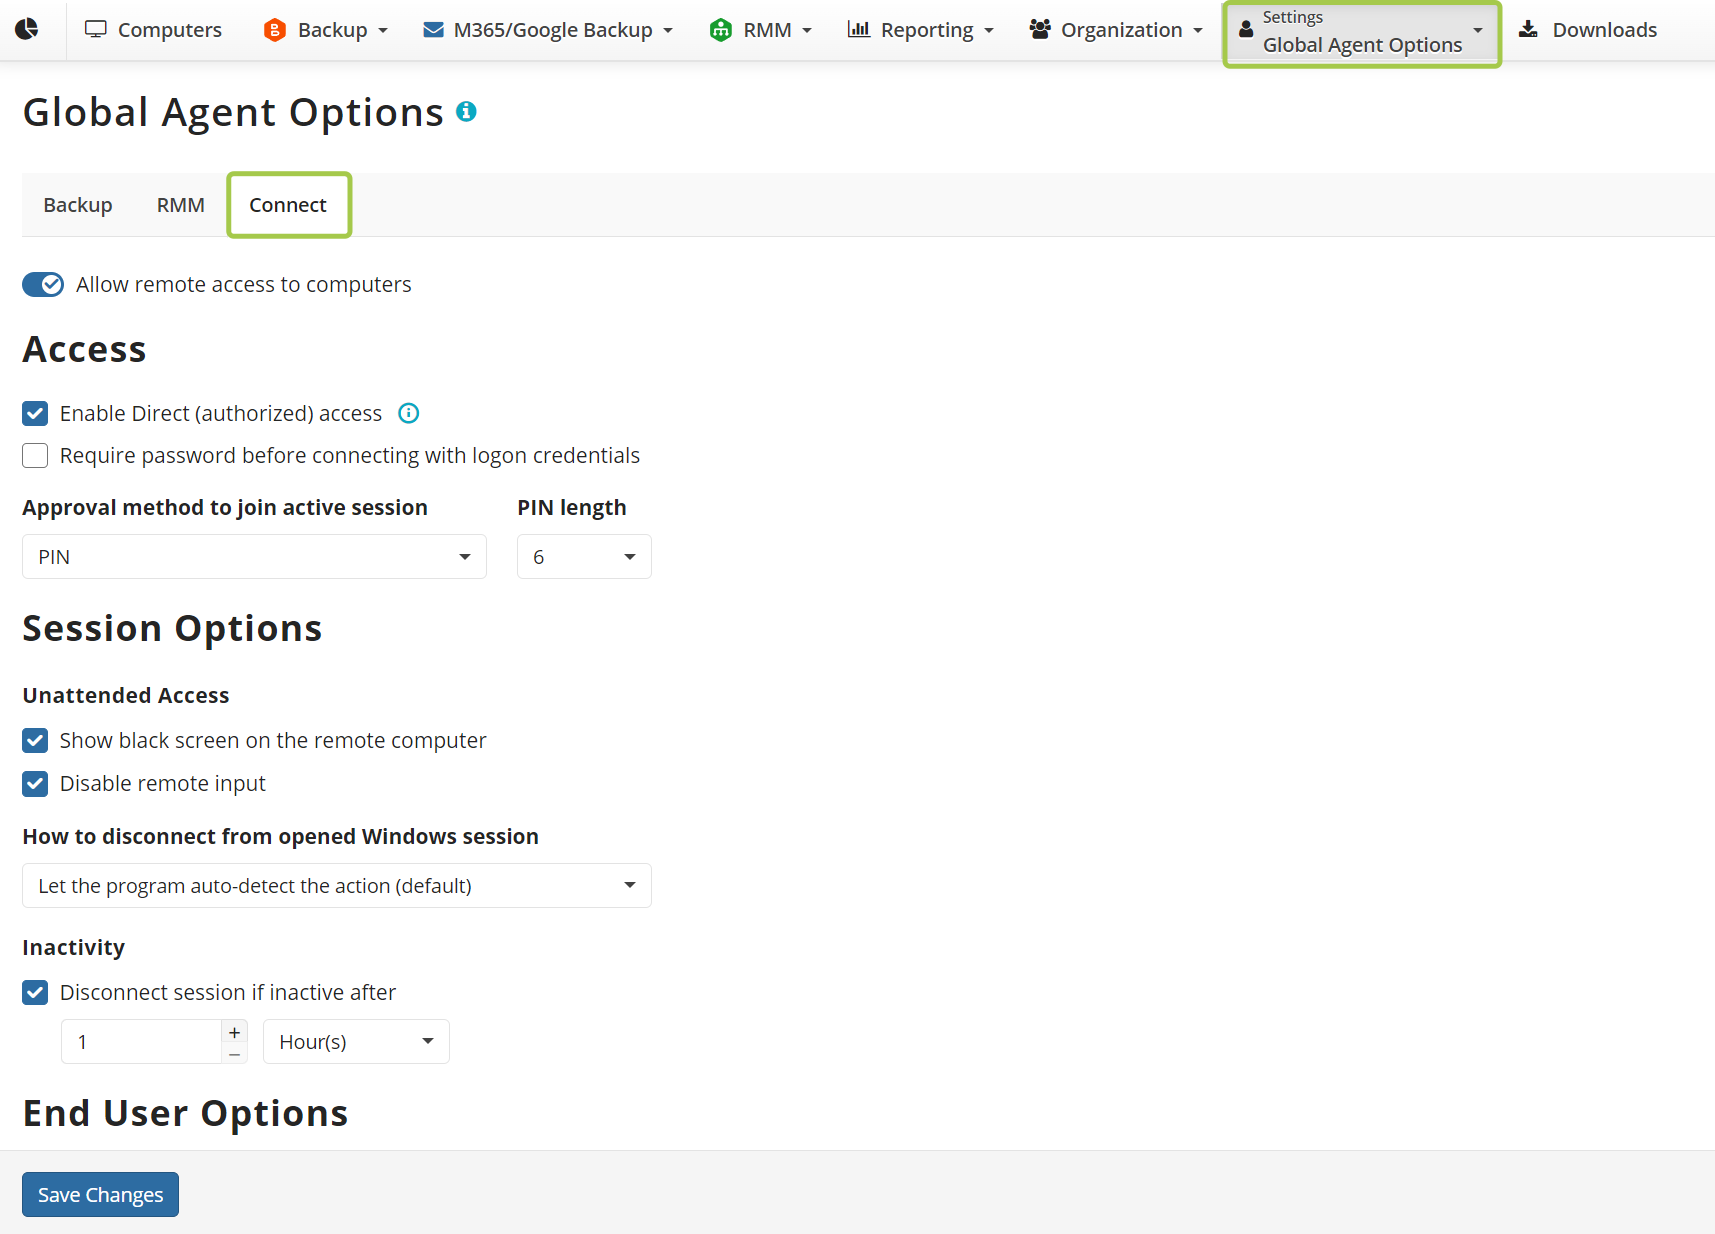
On the Companies page, Organization tab, click on the name of the required company. A menu will open; select the Connect agent options tab. Here you can use global agent options or set custom options for this company only. For example, you can enable/disable Direct (authorized) access, set an approval method to join active sessions, set PIN length, define proxy settings, and more.
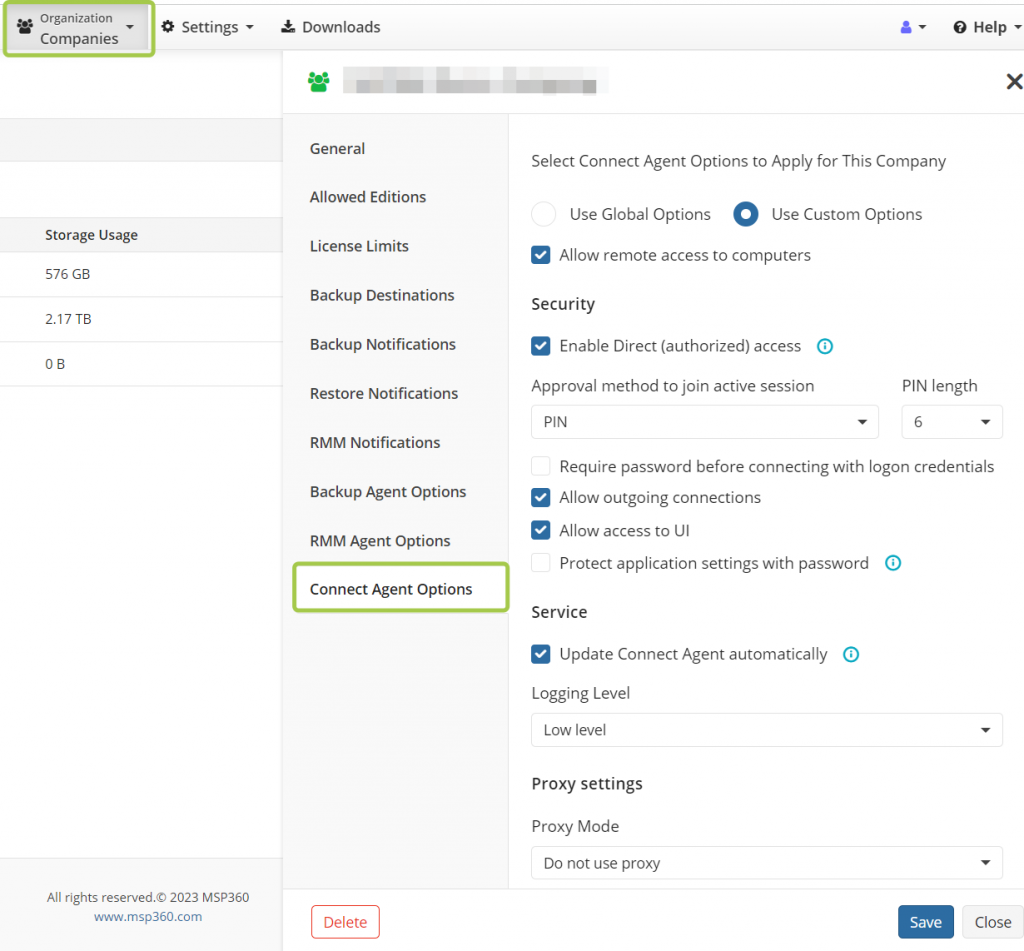
Keep in mind that direct (authorized) access is needed if you want to allow immediate direct access to active sessions without any additional confirmation. Direct (authorized) access is enabled by default.
Global Agent Options:
Click Settings in the upper menu, select Global agent options in the drop-down list, then select the Connect tab. Here you can configure the settings that will apply to all devices that don’t have other company-level/computer-level settings.
Step 4: Establishing a Connection
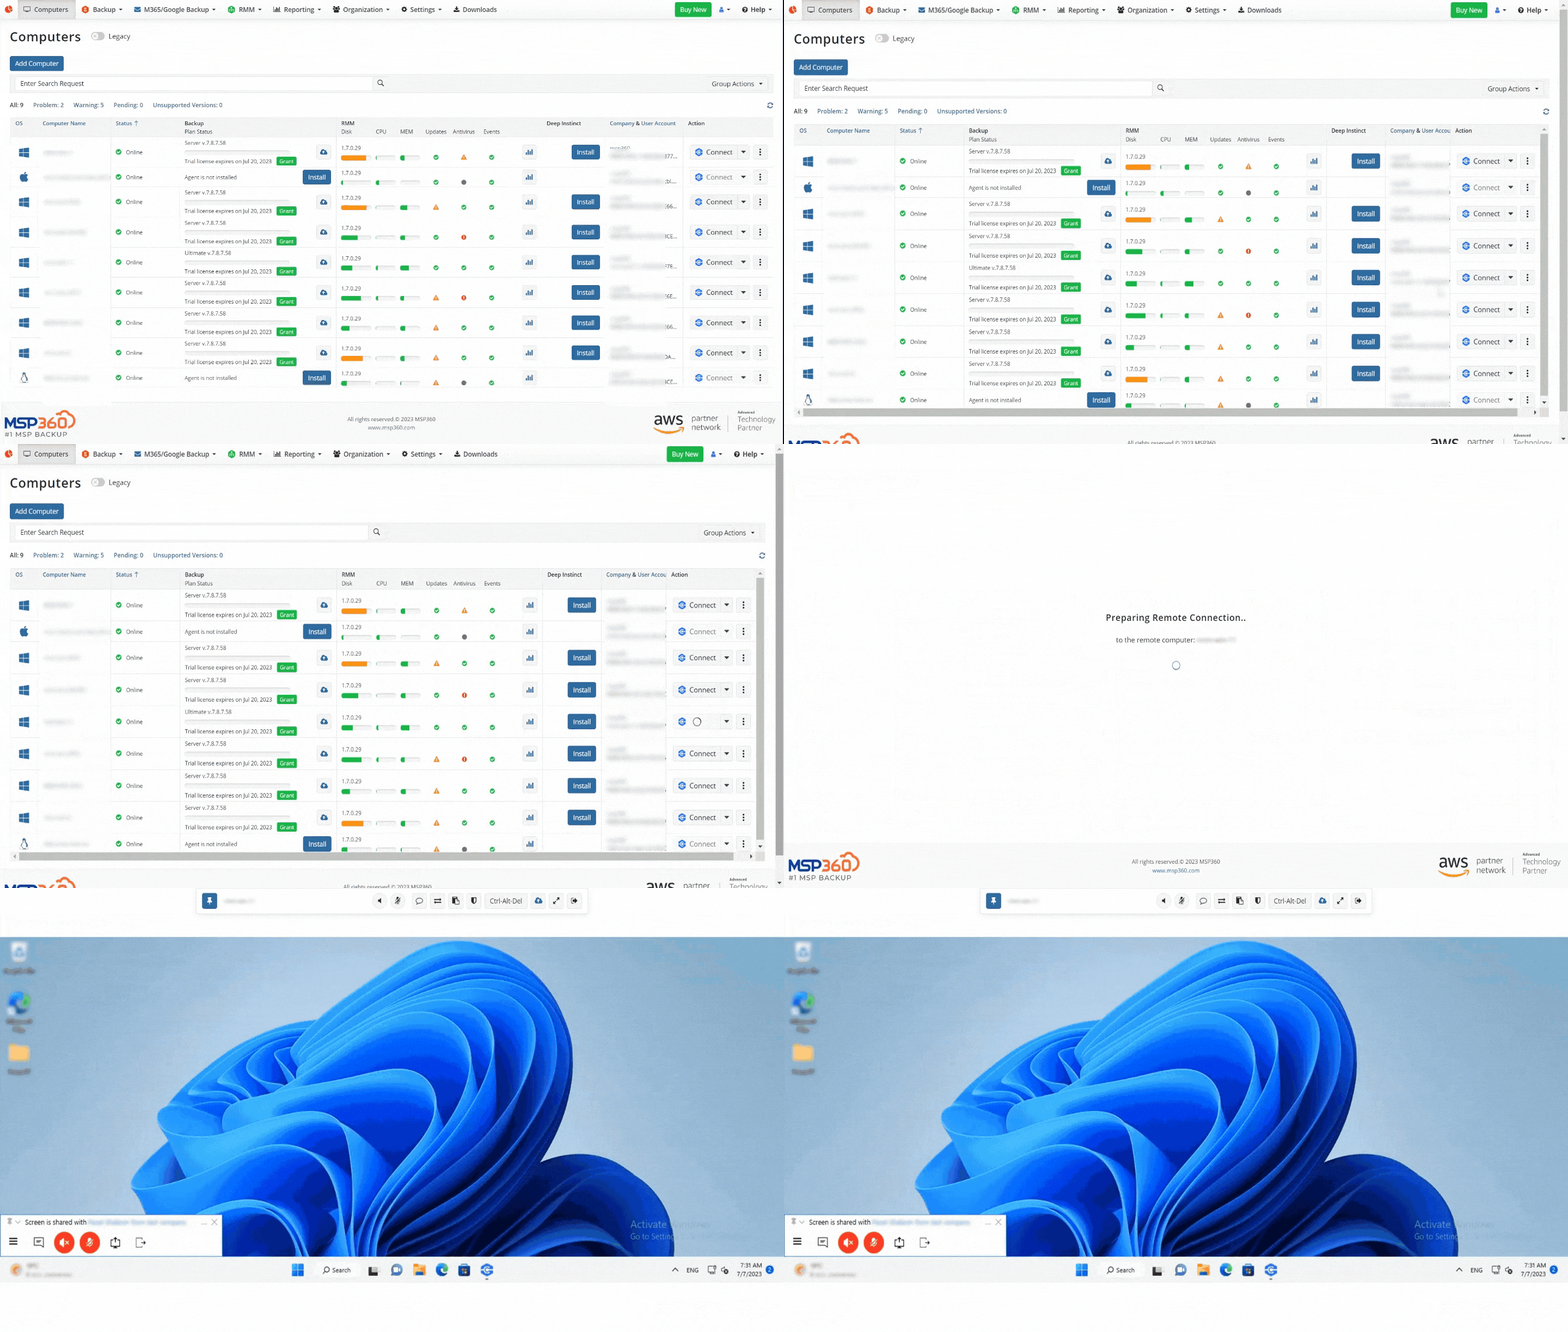
To establish a connection, go to the Computers tab, find the Connect icon in front of the required computer, and click Connect. Or you can open the drop-down list next to it and select the preferred method of connection: connect using web browser or connect using desktop app. Let’s proceed with the first option – connect using a web browser.
If direct (authorized) access is enabled, you will immediately connect to an active session without entering PINs, credentials and confirmation from a remote user.
If direct (authorized) access is disabled, a new window will open. Select whether you want to connect using Windows credentials or join an active Windows session.
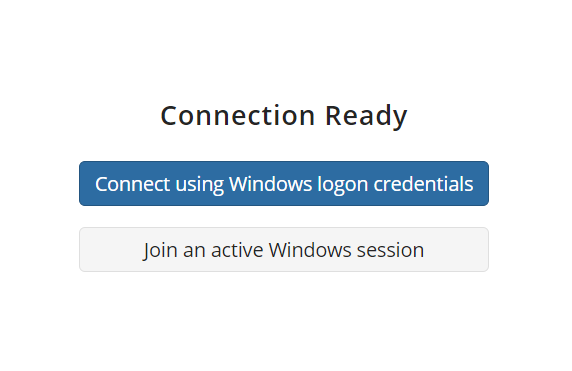
Connect Using Windows Logon Credentials
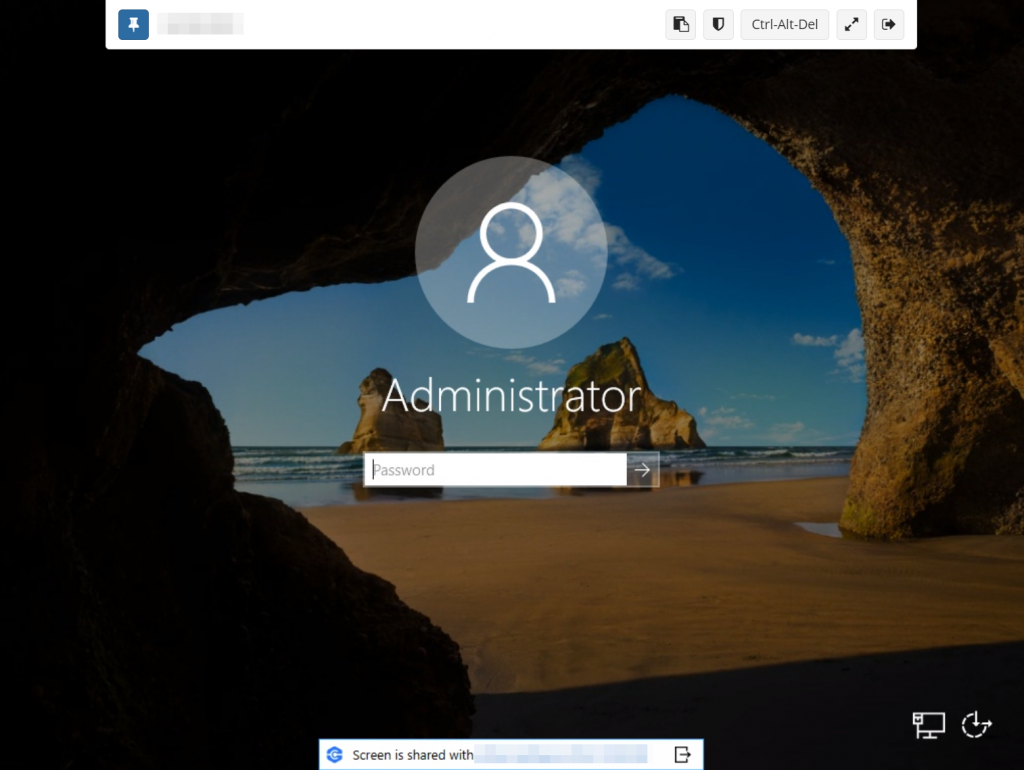
If you choose this option, the main screen of the remote computer will appear. Click on the Ctrl+Alt+Del button to activate it and type in the Windows password if it’s set. That’s it!
Join an Active Windows Session
If you choose to join an active session, the user you are trying to connect to needs to allow you to access their computer. So, depending on the session approval method that is configured in the company/global settings, you will need to either request the remote user's PIN or ask them to allow the incoming connection in the window that appears or both.
The session begins after you have entered using a PIN or after confirmation from the remote side. You can now control this computer remotely.
Conclusion
With MSP360 Connect, you’ll easily solve your clients’ or team’s IT infrastructure issues without any need to meet them in person.
Further reading Getting Started with MSP360 Connect Free and Connect Pro

