MSP360 Products
Getting Started with MSP360 Managed Backup
From this guide, you will learn how to sign up for MSP360 Managed Backup, enter the Web Console, install the software on your machine, and start your first backup plan.
Starting Free Trial
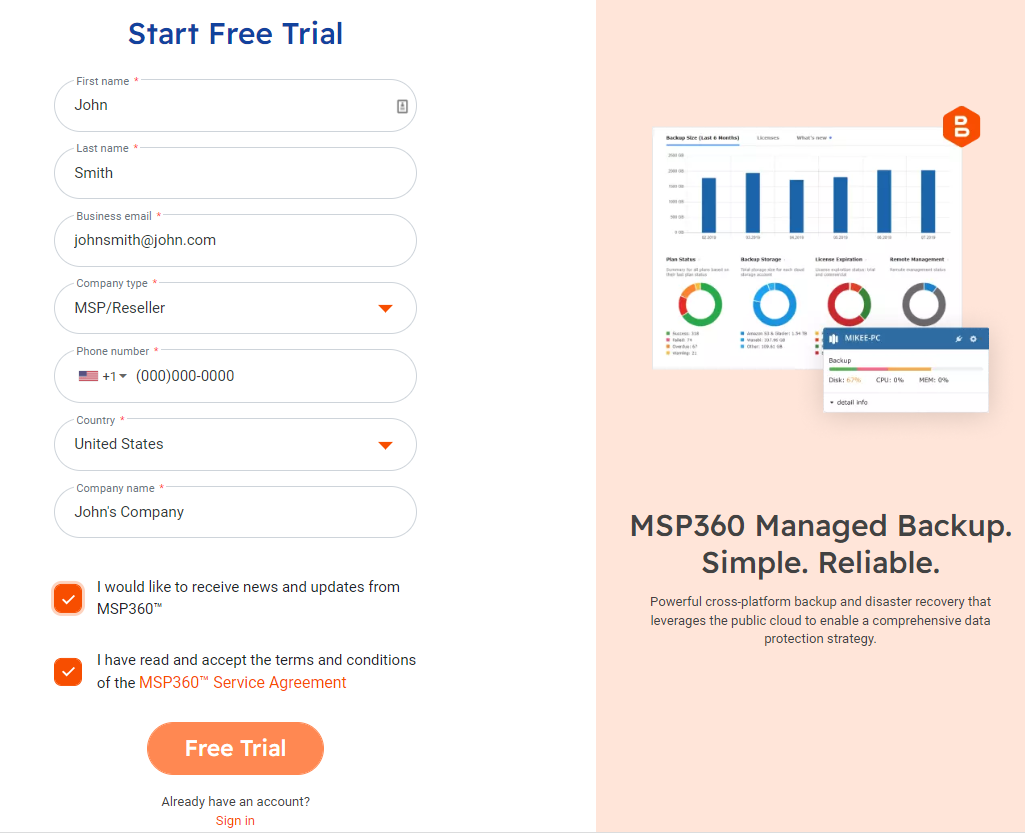
To start the free trial, visit the MSP360 Managed Backup product page and click the Free Trial button. Complete the form and click the Free Trial button at the bottom of the screen.

You will be redirected to the Getting Started Wizard in the MSP360 Managed Backup console. On this step, you are required to select what you need to back up.

#image_title
Install the Backup Agent on a target endpoint. To do this, select the platform from the list and download the agent by clicking the Download button in the bottom right corner.

Once the installation package is downloaded, run it on the target computer. Complete the installation, and then you will be transferred to the next step in the web console automatically.
You’ll be granted 2 TB of MSP360 Storage powered by Wasabi with a 30-day free trial. Click next to configure your first backup plan.

#image_title
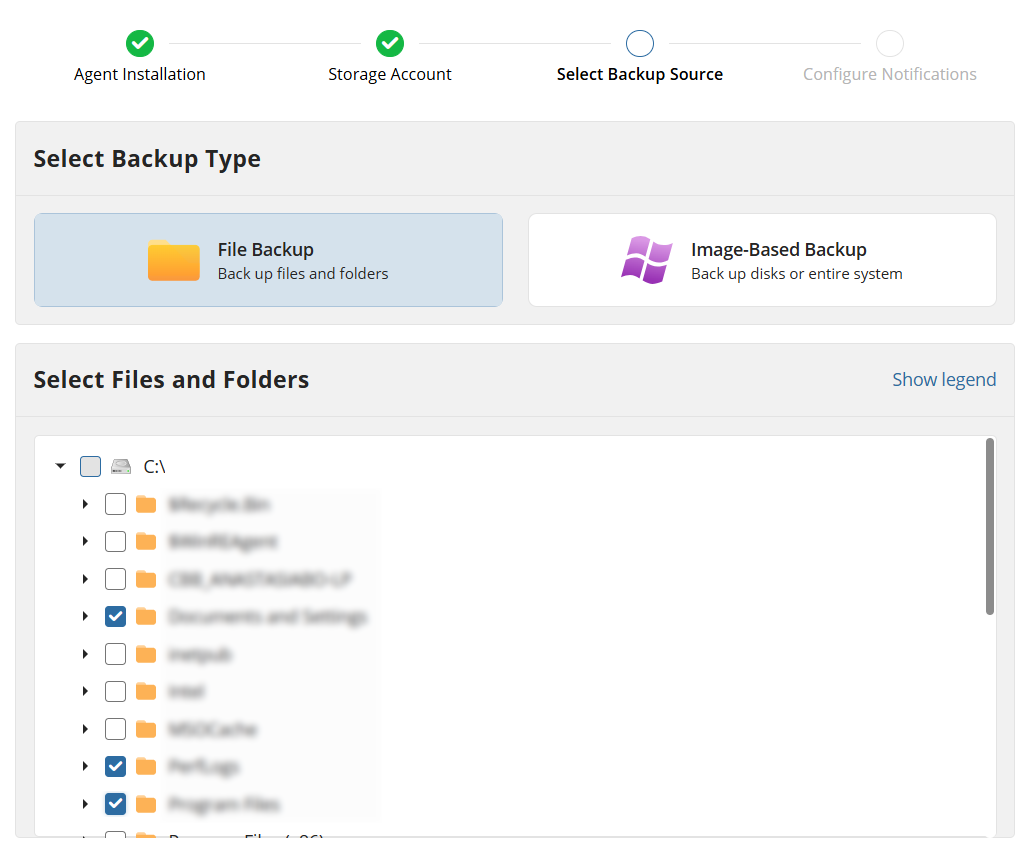
Choose between file and image-based backup and specify the files and folders or partitions that need to be backed up.

#image_title
Specify the notifications settings and click Run Backup.

#image_title
Getting Started with MSP360 Managed Backup
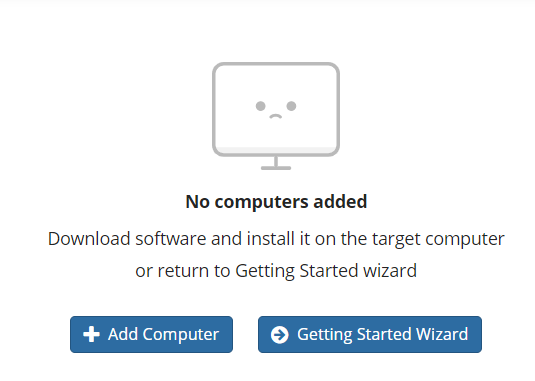
In case you skipped the Getting Started wizard, you need to download the software to start using the backup solution.
Add a Computer
To add a computer, click the Add Computer button on the welcome screen.

Select MSP360 product from the list to install agent on the endpoint, and select the operating system of the computer from the drop-down list.

#image_title
Next, select the installation method from the list. If you chose Download and Install Agent manually method, click the Download button to install the agent on your target endpoint. Another option (Scan network and Install Agents in bulk) allows you to deploy Backup, RMM, and Connect Agents in bulk to computers within the same domain.

#image_title
After installation, refresh the Computers page to see the new computers. Use the Pending filter to find new computers, and click Authorize to finish the procedure.

#image_title
Select or create a new company to add the computer. In case you create a new company you can configure the new company later. Now you only set a name for the new company. Once that’s done, you can assign an existing user, or create a new one.

#image_title
Set Up the Backup Plan
Once done, click on the computer name to create your first backup. In a slide-in that appears, click the Add New Plan button and select Files backup to start working with your first backup plan.

#image_title
Now you need to set up your first backup plan. Follow the steps in the wizard to configure the required settings. Then click Save.

#image_title
Congratulations! Your first backup plan in MSP360 Managed Backup has just started.
Backup users can also use web-based remote access for free! In order to establish a connection through a browser, go to the Computers tab and click the Connect button in the Action column.

#image_title
If you have any questions, feel free to contact our pre-sales team.


