Storage
Getting Started with MSP360 Backup and IDrive e2 Storage
Read this article to learn how to sign up for IDrive e2, start using MSP360 Backup, and connect your storage account within the solution.
How to Sign up to IDrive e2
To start your free trial with IDrive e2 storage, visit their signup page and complete the form. Once you’ve submitted the form, you will see the Dashboard, where you can manage buckets, files, and settings.
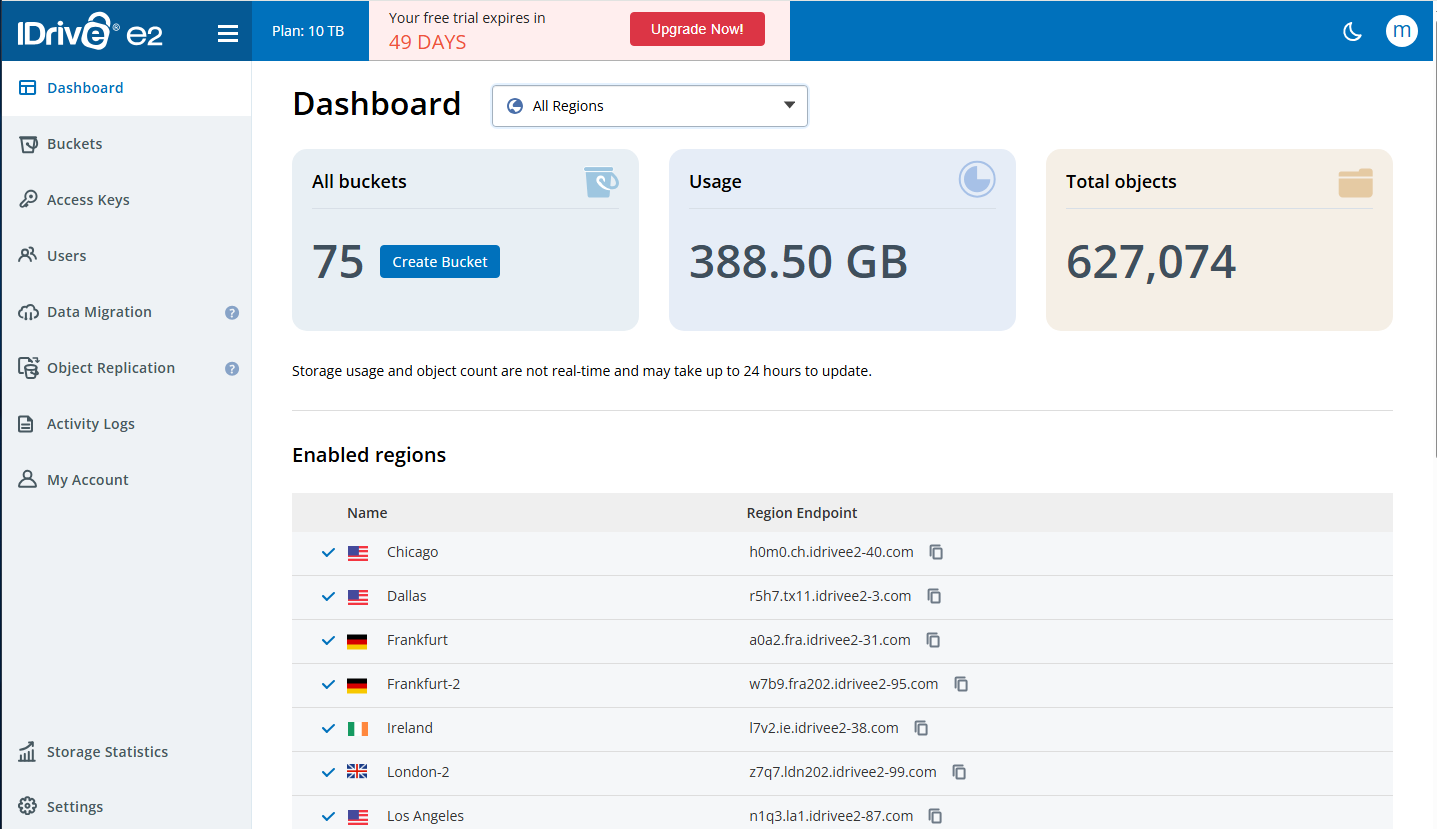
Create Access Key and Secret Key
To add IDrive as a storage destination, you need to create the access key and secret key pair. To do that, proceed to the Access Keys tab in your IDrive e2 console and click the Create Access Key button. Set up a name and select region from the dropdown list. Then, assign permissions and buckets for this access key. Once that’s done, your access key and secret key pair will be generated automatically. Please note that this information appears only once - you need to download or save it immediately. Please also note that permissions for the access key that were already configured cannot be modified: to change roles or rights for the access key you need to delete the existing access key and create a new one.
Create a Bucket
To create a new bucket, you need to enable preferred geolocation first. This can be done on the Dashboard page. Once that’s done, navigate to the Buckets tab in your IDrive e2 account, and click Create Bucket. Configure the settings for this bucket and specify public or private access, enable encryption and specify whether you want to enable object lock (immutability) or not and if you want to enable Versioning with specific retention settings for this bucket.
Select the Right MSP360 Backup Edition
Now you need to choose the appropriate MSP360 Backup edition based on your data protection needs:
- MSP360 Free Backup software is completely free of charge, and suitable for data protection needs of individual users looking for simple desktop backup software.
- MSP360 Backup Pro supports up to 5 devices and adds more flexibility, including server and VM backup capabilities but it doesn’t offer centralized web-based control.
- MSP360 Managed Backup is the complete solution for MSPs and businesses managing multiple endpoints. It features centralized management, multi-tenant architecture, compliance tools, and scalable pricing.
Getting Started with MSP360 Backup
To start using MSP360 Free or MSP360 Standalone Backup, download the agent on your target endpoint. Once the backup agent is downloaded and installed, you will be able to choose between a solution for personal use (MSP360 Backup Free) and a solution for managing up to 5 devices (MSP360 Backup Pro).
Configure MSP360 Backup for IDrive e2 Storage
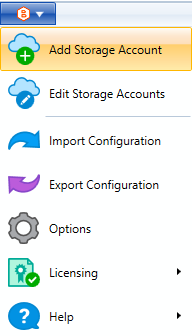
To add IDrive e2 as a storage destination in MSP360 Backup Free or MSP360 Backup Pro, launch the application, and click the Add New Account button in the menu.
Then, select IDrive e2 from the list, enter the account's display name, access key, secret key and select bucket from the drop-down list.
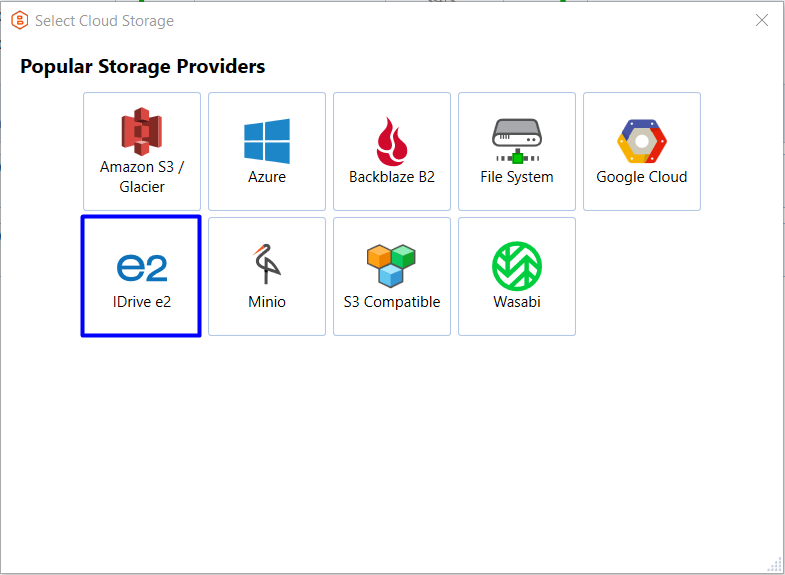
#image_title
On this screen you can also enable Object Lock (immutability). This feature, if enabled during bucket creation, protects your data from being modified or deleted, ensuring maximum data safety.
Once you have specified all the required information, click OK. You will see your new IDrive e2 storage account displayed in the list of accounts.
Creating a File Backup Plan
To start backing up your data to IDrive e2, click the Files icon in the upper navigation (if you’d like to proceed with file-based backup creation), or click the Image Based icon (if you’d like to create an image-based backup plan).

Follow the backup plan wizard to the second step, and select IDrive e2 storage there.
On the next steps of the backup wizard, you will be able to customize scheduling and tailor it to your needs.

Also, you can configure retention policy settings and specify how long you need to keep your file versions.
Configure MSP360 Managed Backup for IDrive e2 Storage
To add IDrive e2 as a storage destination in MSP360 Managed Backup, go to the Backup tab, and click the Storage Accounts button. Click Add Account and select IDrive e2 from the list.
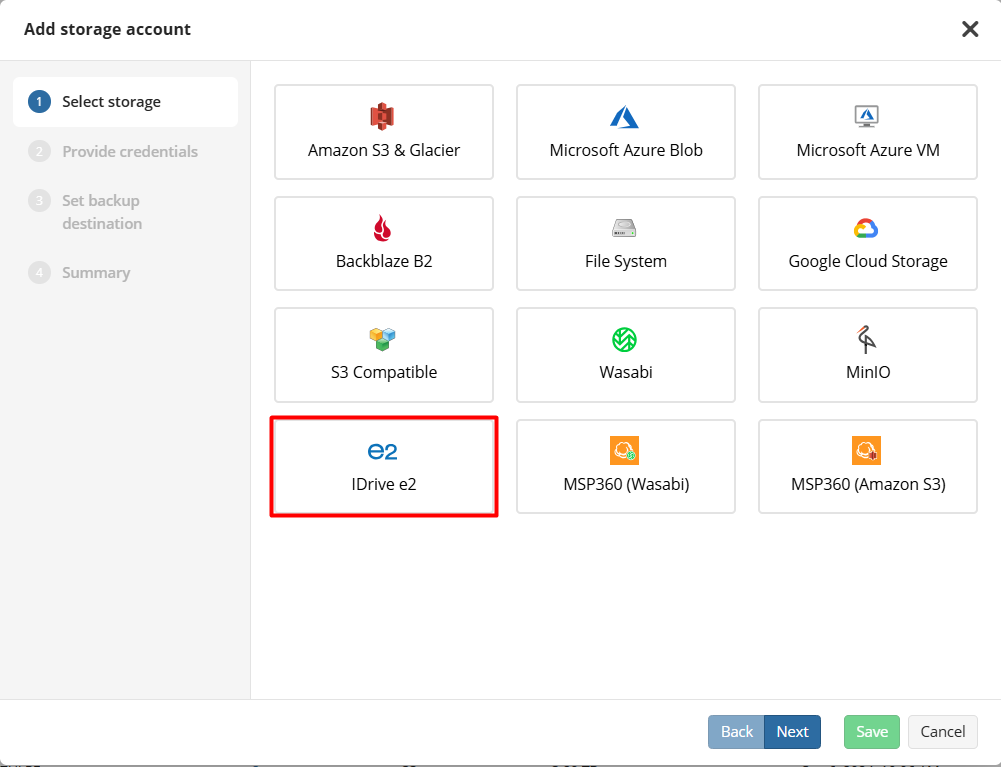
On the next step, you need to specify the display name for the backup destination, and access and secret keys to access the specific endpoint associated with the specific region in the storage. Once that's done, proceed to the next step where you can enable Object Lock.
Please note that Object Lock must be enabled when the bucket is first created. You won’t be able to enable it later for buckets that were created without it.
To start backing up data to IDrive e2, find the required endpoint in the Computers tab, click the status bar in the Backup Plan Status column and in the slide-in that appears click the Add New Plan button. Choose between file-level and image-based backup, follow the backup plan wizard to the second step and select IDrive e2 as a storage destination.
In MSP360 Managed Backup, you can also customize schedule and retention policies for your backup plan. Forever forward incremental backup retention for IDrive e2 is available in both MSP360 Backup Pro and MSP360 Managed Backup - this approach allows you to save storage space and a significant amount of money since it ensures quicker backup times.
