Synology NAS Backup With MSP360
MSP360 Managed Backup is a powerful and user-friendly backup solution that enables users to back up their data to any type of Synology NAS (Network Attached Storage).

Fast and Efficient
Synology Backup and Recovery
Optimized Storage Size with GFS
Ensure Recoverability with Restore Verification
Make the Most of Your Synology Backups With MSP360
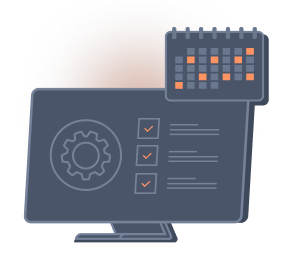
Intuitive Centralized Web Console

Synthetic Full Backups

Ensure Recoverability With Consistency Check And Restore Verification

Efficient Data Retention With GFS
How to Back Up Your Data to Synology with MSP360 Managed Backup
Install MSP360 Managed Backup Software
The first step is to download and install MSP360 Managed Backup software on your computer. The software is available for Windows and Mac platforms.
Connect to Synology
Once you have installed the software, you need to connect to your Synology NAS. To do this, open the MSP360 web control panel and navigate to the Backup tab, Storage Account section. Click on add a new account and select File System. Enter there the path in the UNC format, on the next step select the companies that will get this new destination as a storage and enter the login credentials for your Synology account.
Create a Backup Plan
Next, you need to create a backup plan in MSP360 Managed Backup. To do this, click on the "New Backup Plan" button, select the files or folders you want to back up, and choose "Synology" as the destination. Specify the backup schedule and retention policy and click on "Save" to create the backup plan.
Start Backup
Once you have created the backup plan, you can start the backup process by clicking on the "Run" button. MSP360 Managed Backup will automatically back up your selected files and folders to your Synology NAS according to the schedule you specified.
Monitor Backup Progress
You can monitor the progress of the backup process in the MSP360 Managed Backup web console. The software provides real-time updates on the status of the backup and shows you the estimated time remaining for the backup to complete.
Restore Data
If you need to restore your data from the Synology NAS, you can do so using MSP360 Managed Backup. Simply create the restore plan, choose the files or folders you want to restore, and click on the "Restore" button. Alternatively, you can browse the backed up files and folders on the "Backup Storage" tab in the agent or in the Management Console and restore from there.
Benefits of Using MSP360 Managed Backup to Back Up Your Synology Device
Synology NAS Backup
With MSP360